Nomid
Test an Android Kiosk or Shared-Device Policy in Minutes Using a QR Code
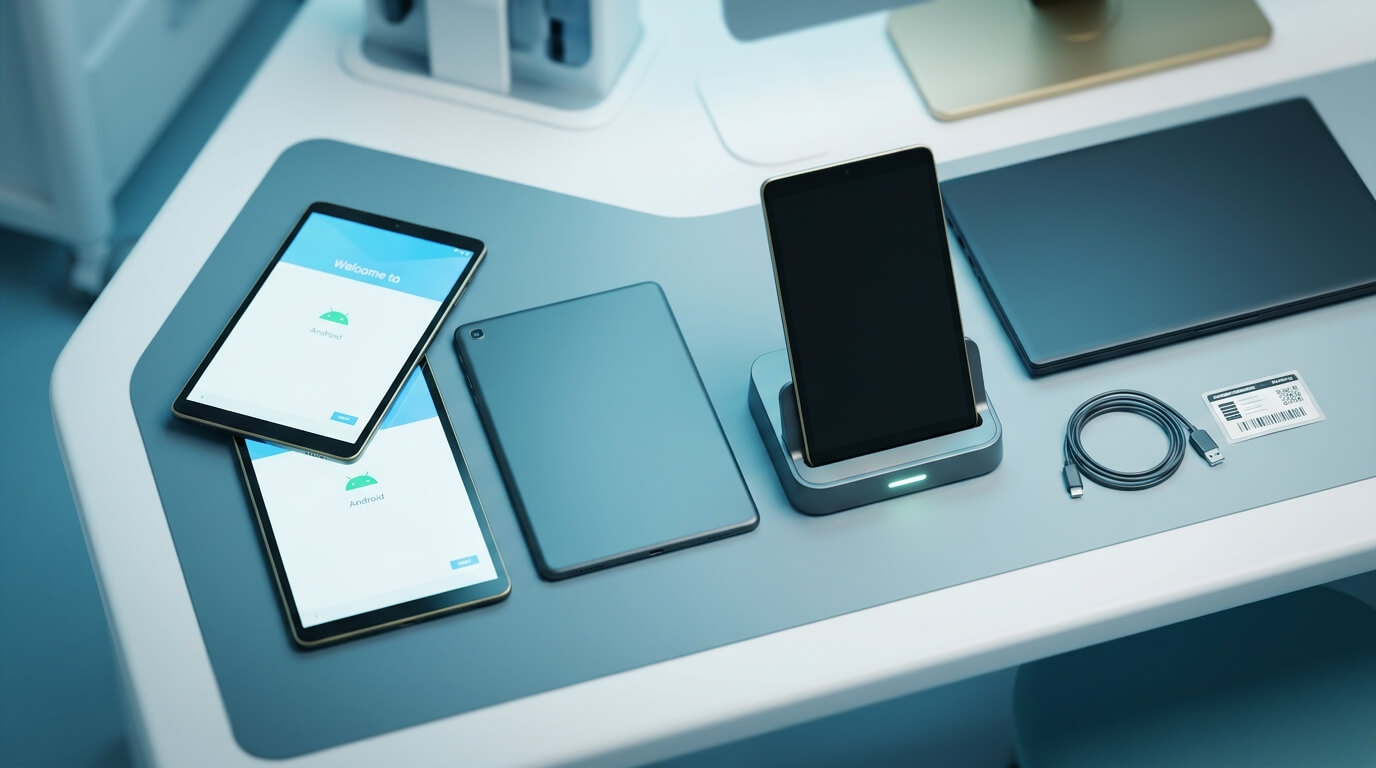
Try an Android kiosk or shared-device policy on a spare device: pick a free template, tap six times, scan the QR code. What to check, and how to get the device back.
Table of Contents
You have a shortlist of Android device management vendors, and every one of them shows a polished console. What a console screenshot can't show you is what your warehouse picker, front-desk tablet user or field technician will actually see when the device is locked down. Kiosk mode is a physical experience. It covers the launcher, which buttons respond, what happens when someone swipes down, and whether the one app they need opens on its own after a reboot.
This tutorial shows you how to put a real Android kiosk or shared-device policy on a spare device using Android Enterprise QR code provisioning, the "six-tap" setup built into the Android setup wizard. You pick a public policy template, scan its QR code, and then use the device the way your workers would. You don't need to create an account or schedule a sales call.
The tutorial also covers what this kind of demo is not. You will be enrolling hardware into a shared demo environment, so you need to know who manages the device afterwards and how to get it back before you start.
Why test on a real device before a trial
A full MDM trial costs effort. You create a tenant, link a managed Google Play account, write a policy and work out enrollment. That effort makes sense once you're fairly sure the platform fits. A hands-on device demo answers the earlier questions faster:
- How does kiosk mode feel? You can see whether workers get one full-screen app or a launcher with a few approved apps, and how the status bar and navigation buttons behave.
- What does the launcher look like? A custom kiosk launcher is what your staff stare at all day. You need to know whether it's legible on your screen size and whether icons are big enough for gloved hands.
- What can a worker still reach? You can try opening Settings, adding a Google account, installing an app from an unmanaged source or turning on developer options. Testing restrictions by hand tells you more than reading a policy JSON.
- What does enrollment look like on your hardware? Your specific tablet or rugged model may behave slightly differently in the setup wizard. It's better to find that out on one spare unit than on a pallet of fifty.
The test also gives you something concrete to show directors. "Here's the device, try to break out of it" makes a stronger case than a feature matrix.
What you need before you start
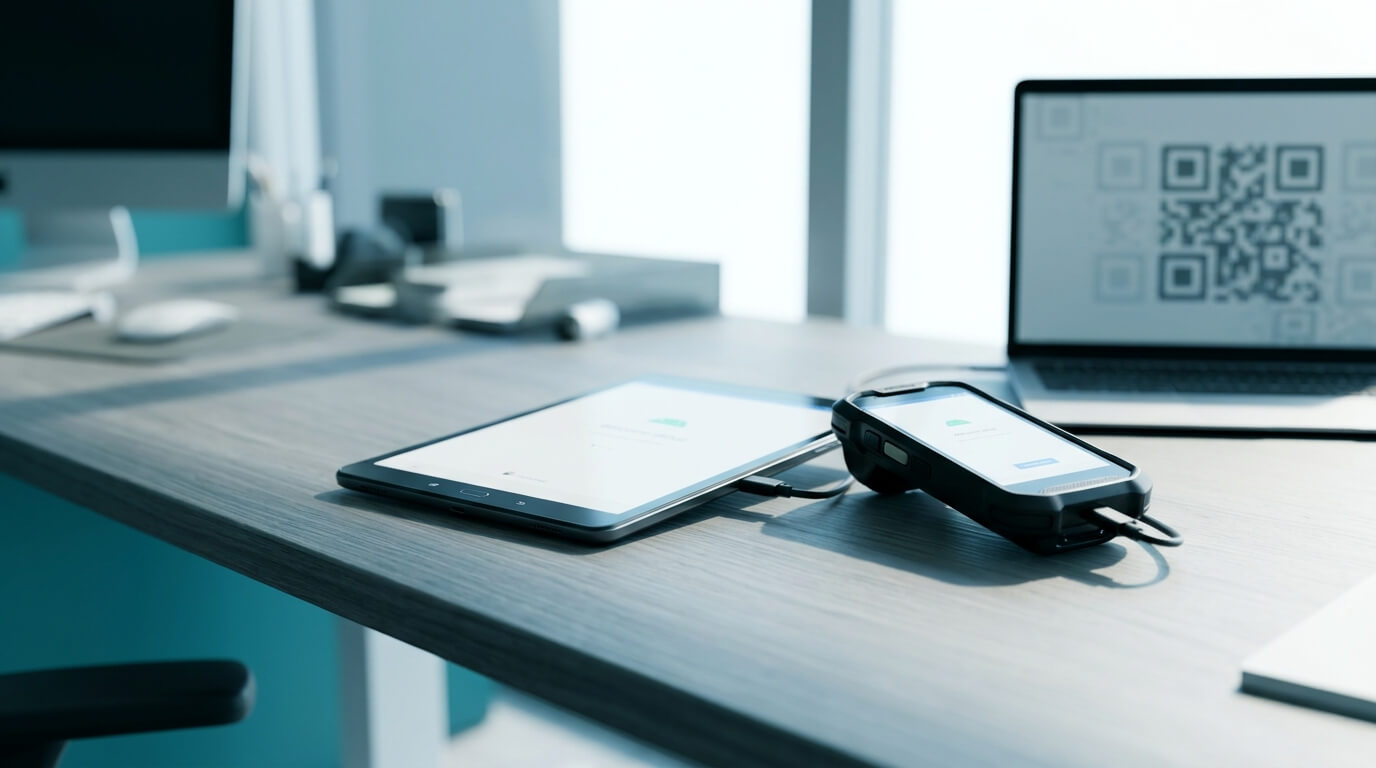
Gather the following before you begin:
- A spare Android device running Android 7.0 or later. Google's Android Enterprise documentation lists Android 7.0 as the minimum for QR code provisioning. On Android 9 and later the QR reader is built into setup. On Android 7 and 8 the device downloads a reader during setup.
- A device you can treat as company-owned. QR provisioning sets the device up as fully managed. Use hardware your organization owns and that nobody depends on personally.
- The ability to factory reset it. Six-tap provisioning only works from the very first setup screen of a new or freshly reset device.
- Wi-Fi with internet access. A simple WPA2 network works best. Guest networks with a captive portal (a browser login page) usually block setup.
- A second screen showing the QR code. This can be your laptop or another phone.
- Google Play services on the device. Android Enterprise QR provisioning needs a device with Google Mobile Services (the Play Store and Google Play services). Devices without them, such as some AOSP-based rugged or regional models, don't offer the six-tap setup or fail during it.
- The device's serial number or IMEI, noted down now. Support needs it to remove the device later, and a kiosk policy may block Settings → About once the device is enrolled. It's usually on the box, the back label or the SIM tray.
Warning: A factory reset erases everything on the device. Back up anything you need first. Remove any Google account from the device before resetting it. Otherwise Factory Reset Protection may ask for that account's credentials after the reset.
Note: Don't use a device your reseller has already registered for Android zero-touch enrollment or Samsung Knox Mobile Enrollment with another provider. Those registrations can take over during setup and send the device to a different management console.
What the demo is not: shared account, no expiry, removal via support
Before you scan anything, be clear about what this demo is, because the device is managed by someone else until you ask for it back.
- It enrolls into Nomid's shared demo account. This is not a private workspace. Other evaluators' demo devices sit in the same account, and Nomid manages your device from it.
- The device is managed by Nomid until it's removed. Policy, apps and restrictions are controlled remotely from the demo account, not by you.
- There is no automatic expiry. The device stays enrolled and locked down until removal is requested.
- Removal goes through support. Email support@nomid.tech to have the device removed.
Warning: Don't sign in with company accounts, insert a SIM tied to sensitive services, or store real customer or patient data on a demo device. Treat it as a test unit visible to a third party.
Step-by-step: from factory reset to a locked-down device
Step 1: Choose a policy template
- Open the free policy templates tool at nomidmdm.com/en/tools/android-policy-templates.
- Browse the categories and read each template's description, including the apps it installs. The list on the page is the current source of truth, so check it rather than relying on any summary, including the one in this article.
- Pick the template closest to your real use case. If you're unsure, start with a kiosk template, because it shows the most visible change.
- Leave the template's QR code open on your laptop screen.
Expected result: A QR code for your chosen template is on screen, and you know which apps and restrictions to expect on the device.
Step 2: Factory reset the spare device
- On the device, go to Settings → System → Reset options → Erase all data (factory reset). The menu path varies by manufacturer. On Samsung devices it's usually Settings → General management → Reset.
- Confirm the reset and wait for the device to restart.
- Stop on the first welcome screen. Don't tap Start and don't choose a language yet.
Expected result: The device shows the setup wizard's welcome screen, usually a greeting and a language selector, and nothing has been configured yet.
Step 3: Tap six times to open the QR scanner
- Tap the same spot on the welcome screen six times in quick succession. Pick an empty area, such as blank space near the greeting, rather than a button or the language dropdown.
- On Android 9 and later, the device asks to start QR code setup or opens a camera view straight away.
- On Android 7 and 8, the device asks you to connect to Wi-Fi first so it can download a QR reader. Connect, then wait for the reader to open.
Expected result: A camera viewfinder for scanning a QR code is on the device screen.
Note: If nothing happens, slow down slightly and keep your finger in one place. Some manufacturer skins only register the taps on a blank region of the screen. See the troubleshooting FAQ below if it still doesn't work.
Step 4: Scan the template's QR code and connect to Wi-Fi
- Point the device camera at the QR code on your laptop. Hold it steady about 20–30 cm away and reduce screen glare if the scan doesn't trigger.
- If the device asks for a network, connect to your Wi-Fi.
- Read and accept the screens that explain the device will be managed by an organization.
Expected result: The device shows a message that it belongs to an organization and begins setting up for work. It downloads the Android management components and starts applying the policy. This can take a few minutes depending on your connection.
Step 5: Let the policy apply and the apps install
- Leave the device on Wi-Fi and plugged in if the battery is low. Don't interrupt setup.
- Watch the device move through the remaining setup screens. Many of the usual consumer steps, such as adding a personal Google account, are skipped or blocked by the policy.
- Wait for the apps listed in the template to install. Some may appear after the home screen or launcher loads.
Expected result: The device finishes setup and lands on the experience the template defines. That may be a single locked app, a kiosk launcher with a small set of approved apps, or a managed home screen for a shared or field device.
Step 6: Use it like a worker would, then try to break it
This is the part that matters. Work through this checklist and take notes or photos for your evaluation:
- Reboot the device. Check whether it returns straight to the kiosk app or launcher.
- Swipe down from the top. Note whether notifications and quick settings are available, limited or hidden.
- Press Home, Back and Recents. Check whether you can leave the kiosk app.
- Try to open Settings. Check whether access is blocked or limited to specific items such as Wi-Fi.
- Try to add an account or install an app from outside the approved list.
- Hand the device to a colleague who hasn't seen it and ask them to do a typical task. Watch where they hesitate.
Expected result: You have a first-hand view of what the policy allows and blocks, how the launcher looks on your hardware, and how a non-IT user reacts to it.
What each template shows
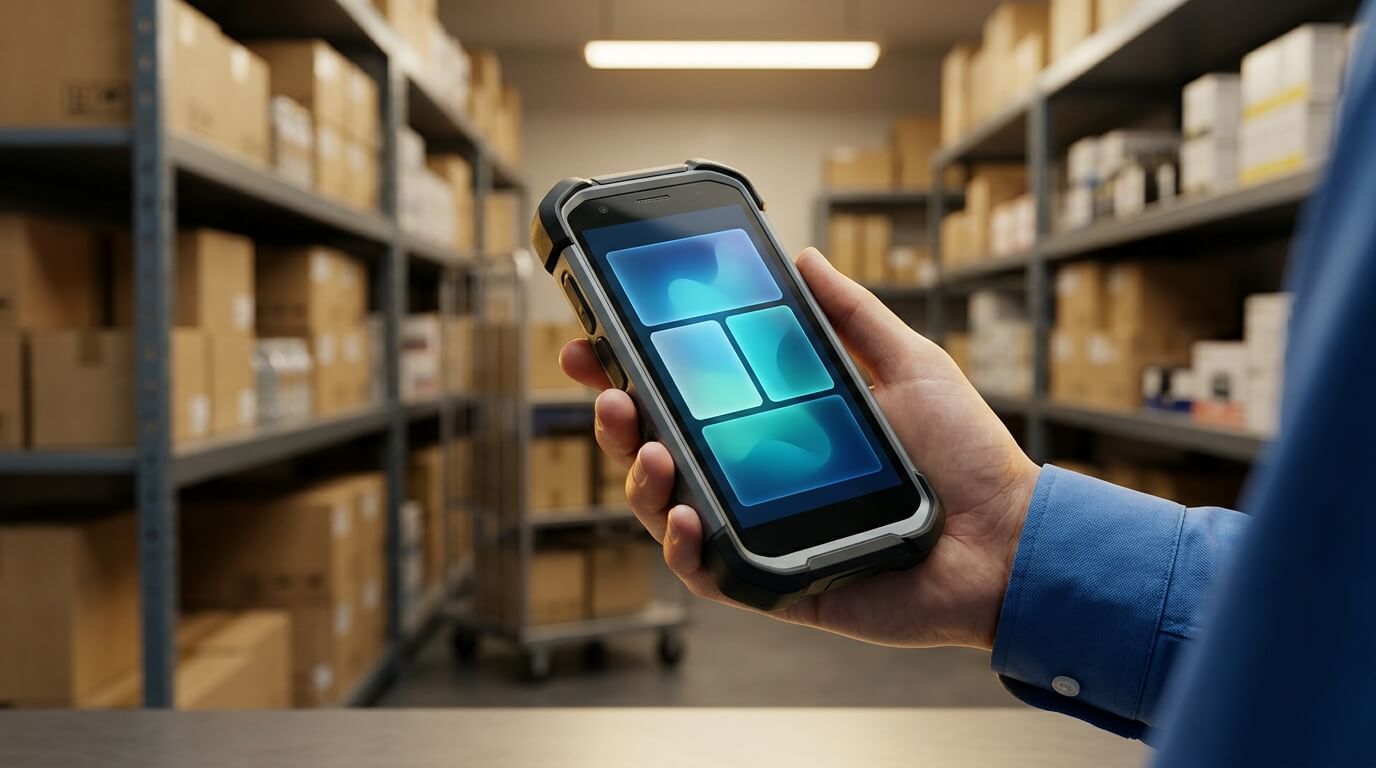
At the time of writing, the policy templates page lists four templates, all for company-owned devices. The list, categories and included apps may change, so check the page before you pick. The device previews on the page are illustrative.
- Single-app kiosk. Chrome opens full screen as the only app, and access to other apps is restricted. Chrome starts without a preset website, so bring your own website or web app. Check how it behaves after a reboot and whether you can leave Chrome.
- Frontline tablet. The Nomid Launcher with large icons, showing only the policy's apps: Chrome, Files and Calculator. It uses the shared-device preset. Check legibility on your screen and what a worker can still reach.
- Field service. A work-focused Nomid Launcher layout with Maps, Files and Chrome, and camera access from the launcher dock. Maps and websites need a connection, so try it away from your office Wi-Fi too.
- Logistics workers. The Nomid Launcher with large icons, plus Maps, Chrome, Files and Calculator. No barcode-scanning app or scanner hardware integration is included, so plan to add your own app in a trial.
If your use case sits between two templates, test them one after the other. The device has to leave the demo account before it can take another template, so ask support to remove it in between, as described below.
How to get the device removed and reset
- Email support@nomid.tech and ask for the demo device to be removed. Include the serial number or IMEI you noted before the reset, the device model and the template you used. Don't send passwords or QR codes.
- Support removes the device from the demo account and arranges its reset with you. If you plan to reuse the hardware right away, say so in your email.
- Don't try to work around the restrictions to escape the demo. Requesting removal is the clean path.
Expected result: The device is no longer managed by the demo account and is ready for a fresh setup, whether that's another template or your own trial.
From demo to your own free account
Once you know the kiosk or shared-device experience works for your people, the next step is a workspace you control. With Nomid MDM you can do this on the free plan, which covers up to 10 devices with no time limit. Remote access and the API aren't included on the free plan, so factor that into what you test.
In your own account, the evaluation changes in a few useful ways:
- You write and edit the policy. You can start from policy templates, then adjust Android Enterprise restrictions, security, network and Wi-Fi, hardware and app settings.
- You configure the kiosk yourself. You can choose single-app or multi-app kiosk mode with a custom launcher, add apps from managed Google Play or upload a private APK to the Nomid Store, and add time fences that limit when apps can be used.
- You test the enrollment path you'll use in production. You can use QR code enrollment (company-owned, or with personal use allowed), Android zero-touch, Samsung Knox Mobile Enrollment, or the desktop USB provisioning tool for setting up several devices at once.
- You see the fleet side. The searchable asset list, last-seen status, battery and the security posture view (encryption, ADB, unknown sources, developer options) are the things your support team will actually use.
Do a real proof of concept on two or three units in your own account before you take a recommendation to directors. The device demo tells you whether the experience fits. Your own account tells you whether the operations around it fit.
Troubleshooting FAQ
I tapped six times and nothing happened.
Make sure you're on the very first welcome screen of a freshly reset device. If you've already moved past it, reset again. Tap a blank area rather than a button, keep your finger in one spot, and tap at a steady pace. Confirm the device runs Android 7.0 or later. If the six taps still never open a scanner, the device may lack Google Mobile Services (the Play Store and Google Play services), which QR provisioning needs. Try a different device.
The camera opens but won't read the QR code.
Increase your laptop screen brightness, zoom the QR code so it fills more of the screen, and remove glare by tilting the screen. Hold the device steady at roughly 20–30 cm. If the device reports an invalid code, reload the template page and scan again.
Setup is stuck on "Getting ready for work setup" or a download screen.
This is almost always a network problem. Move to a network without a captive portal, firewall content filtering or proxy authentication. If it has been stuck for a long time, factory reset and start again on a different Wi-Fi network.
After the reset, the device asks for a previous Google account.
That's Factory Reset Protection. Sign in with the Google account that was on the device before the reset. Next time, remove all accounts from Settings before resetting.
The device enrolled somewhere unexpected.
The device was probably registered for zero-touch or Knox Mobile Enrollment by a reseller with another provider. Ask your reseller to release it from that configuration, or use a different spare unit.
Some of the template's apps didn't install.
Leave the device connected to Wi-Fi for a few more minutes, since installs can continue after the home screen appears. If the Nomid Settings app is on the device and shows a Check-up button, run it. It checks whether assigned Nomid Store apps are installed, whether the device reaches the Nomid servers, and the Play Store and Google Play Services versions. Failed rows offer a fix, and you can run the check-up again afterwards.
I can't get out of kiosk mode.
That's expected, because the lockdown is what you're testing. To release the device, email support@nomid.tech with its serial number or IMEI.
Does the demo expire on its own?
No. There is no automatic expiry. The device stays enrolled in Nomid's shared demo account until removal is requested through support.
Can I move the demo device into my own Nomid account later?
Treat it as a fresh start. Have it removed from the demo account, make sure it's back at the welcome screen, then enroll it into your own account using your own QR code or enrollment method.
Ready to test?
A good way to judge an Android kiosk or shared-device policy is to put one in your own hands on your own hardware. Use a spare device, factory reset it, tap six times and scan. Then spend ten minutes trying to break it, and ask a colleague who has never seen it to use it. Remember that the device joins Nomid's shared demo account, is managed by Nomid until removed, doesn't expire automatically, and comes back via support@nomid.tech.
Pick your template and scan it with the free policy templates tool at nomidmdm.com/en/tools/android-policy-templates. You don't need a Nomid account.
Try it yourself — start free
Put these steps into practice on Nomid MDM's free plan for up to 10 devices.
Start for FreeRelated Articles
View all posts
Beyond Basic Kiosk Mode: Why Android Enterprise is Non-Negotiable
Secure your field tablets in minutes. Our guide shows IT managers how to use Android Enterprise and MDM to deploy locked-down, mission-critical Android devices.
New Feature: Android Kiosk Mode Preview
Discover our new launcher preview feature (kiosk mode) that allows you to configure and visualize the home screen of Android devices in real-time, simplifying corporate mobile device management.