Nomid
Factory Reset Protection on Company Android Devices: FRP Accounts, Wipes and Locked Devices
How factory reset protection works on company Android devices: set FRP admin accounts by policy, choose when a wipe keeps FRP, and stop returned devices from coming back locked.
Table of Contents
A field device comes back to the depot. Someone resets it from recovery mode to prepare it for the next worker. On restart, the setup wizard asks for a Google account that was previously on the device. Nobody knows which account that was, and the phone is now unusable.
The mechanism that strands your returned hardware is Factory Reset Protection (FRP). It is also what makes a stolen company phone worthless to the thief. You don't want to turn FRP off. You want to decide in advance whose account unlocks your devices, and you want to choose, wipe by wipe, whether FRP stays on.
This tutorial covers six steps:
- Set up dedicated FRP admin accounts.
- Apply those accounts by policy.
- Choose the right wipe for each situation.
- Configure FRP behaviour for automatic enforcement wipes.
- Run a returned-device process that stops lockouts.
- Handle a device that is already locked.
Warning: This guide does not include FRP bypass steps and never will. If a device is locked, the legitimate recovery paths are covered in Step 6.
Before you start
Make sure you have the following in place:
- Company-owned devices enrolled as fully managed, or as company-owned with a work profile. You can enrol them through zero-touch, Samsung Knox Mobile Enrollment or QR code.
- Admin access to your MDM console, with rights to edit policies and send wipe commands.
- A password vault that your IT team shares.
- One spare test device that you are prepared to reset several times.
Note: Enterprise FRP accounts don't apply to personally owned devices that only have a work profile (BYOD). On those devices, FRP stays tied to the owner's personal Google account, and you have no reason to control it.
How FRP behaves on a company device
Google introduced FRP in Android 5.1. Its job is simple. After certain resets, the device won't finish setup until someone signs in with an authorised Google account.
What triggers it. FRP is mainly enforced after an "untrusted" reset. A typical example is a reset started from recovery mode, where nobody proved they knew the screen lock. A reset started from Settings by someone who knows the lock usually doesn't trigger FRP. The exact behaviour has changed across Android versions and manufacturers, so test it on your own models before you rely on it.
Whose account unlocks it. On a consumer phone, FRP asks for the Google account that was last synced on the device. Managed devices work differently: the device policy can list specific admin accounts for factory reset protection. In the Android Management API, this is the frpAdminEmails field. Google documents it as follows: after a reset, one of the listed admins must sign in to unlock the device. If no admins are listed, the device won't provide factory reset protection.
How remote wipes interact with it. A wipe sent from your console can either keep or clear the reset protection data. In the Android Management API, the wipe flag PRESERVE_RESET_PROTECTION_DATA controls this. If the data is kept, FRP can apply after the wipe. If it is cleared, the device boots to a clean setup wizard.
Why thieves hate it. A reset device that demands an account it can't satisfy can't be set up, used or easily resold. That only works if you can still get in.
Situation | FRP after reset? | Who can unlock |
|---|---|---|
Console wipe, FRP kept | Yes | An FRP admin account from the policy |
Console wipe, FRP removed | No | Anyone. The device boots to a clean setup. |
Recovery-mode reset, FRP admins set | Yes | An FRP admin account from the policy |
Recovery-mode reset, no FRP admins listed | Not by enterprise policy | Google documents no factory reset protection in this case. Behaviour can vary, so test your own models |
Step 1: Create dedicated FRP admin accounts
The accounts you list here are the keys to every reset device in your fleet. Treat them like break-glass credentials.
- Create two Google accounts that belong to the IT function rather than to a person, for example frp-admin-1@yourcompany.com and frp-admin-2@yourcompany.com. Use Google Workspace accounts or standard Google accounts that IT controls. Having two gives you a fallback if one gets locked or suspended.
- Store both sets of credentials in your shared vault, with access logging turned on.
- If you turn on 2-Step Verification, make sure the second factor is something your team can always reach. A hardware key kept at the depot works, as does an authenticator seed stored in the vault. Whoever unlocks a device will be asked for that factor during setup.
- Confirm that each account can complete a normal interactive Google sign-in, for example in a browser on your computer. Don't add the accounts to your test device: an account synced on the device could unlock it on its own and make the test in Step 2 meaningless.
Warning: Never use one administrator's personal or named work account as the only FRP admin. When that person leaves, or their account is suspended, every reset device that depends on it locks.
Note: Not every account type behaves the same way at the FRP prompt. Before you roll out to the fleet, confirm that your chosen account type unlocks your device models by running the full test in Step 2.
Expected result: You have two IT-owned Google accounts, both in the vault, both able to sign in, and both with a second factor your team can reach.
Step 2: Apply FRP admin accounts by policy
- Open the policy your company-owned devices use. In Nomid MDM, the factory reset protection admin accounts are on the policy's Security tab.
- Add both FRP admin email addresses and save the policy. If you use several policies, add the accounts to every policy your company-owned devices use. Check each live policy rather than only a template, so that no device is left without them.
- If you work directly with the Android Management API, the equivalent policy fragment looks like this:
{
  "frpAdminEmails": [
    "frp-admin-1@yourcompany.com",
    "frp-admin-2@yourcompany.com"
  ]
}- Check the asset list to confirm devices have checked in since you made the change. A device that has been offline still holds the old list, or no list at all, until it syncs.
- Prepare the spare device for the test. Enrol it on the same policy, or on a test copy with the same FRP admins, and don't add any Google account to it. Confirm it has checked in since the change.
- Test the full loop. Send the spare device a wipe that keeps FRP. When it asks for an account, sign in with one FRP admin account and confirm that setup continues. If the account is refused, see the troubleshooting FAQ before you roll out.
- Re-enrol the spare device after each test. The wipe removes it from management, so it needs your usual QR code, zero-touch or Knox Mobile Enrollment setup again.
Expected result: Every company-owned device has received a policy with two FRP admins, and you have proven on real hardware that those accounts unlock a reset device.
Step 3: Choose the right wipe for each situation
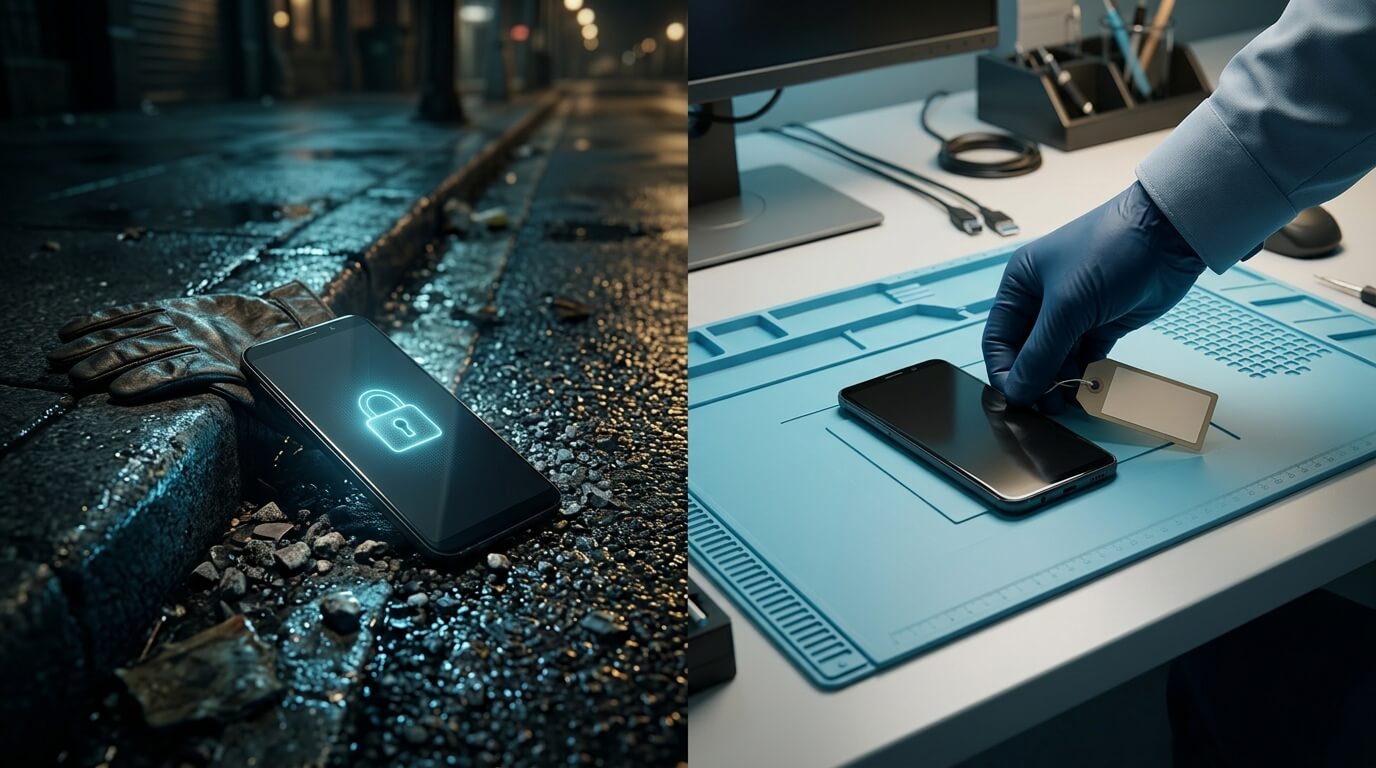
This is where most lockouts are either prevented or created. In Nomid, the wipe command keeps FRP by default, and there is a switch to remove it. Make a deliberate choice every time you use that switch.
Keep FRP (default) | Remove FRP |
|---|---|
Device reported lost or stolen | Device is on your bench, going to repair |
Departing employee hasn't returned the device | Reassignment to a new worker, done by IT |
Device location unknown or last seen off-site | Resale, recycling or return to a leasing company |
Suspected compromise while still in the field | Return to a vendor under warranty |
A simple rule covers most cases: remove FRP only when the device is physically in IT's hands. In every other case, keep FRP. Your FRP admin accounts will let you recover the device if it ever comes back.
Warning: Removing FRP from a device you don't hold gives whoever has it a clean, resellable phone. If you aren't sure where the device is, keep FRP.
Expected result: Your team has a written rule for when to flip the "remove FRP" switch, and lost or stolen wipes keep the default.
Step 4: Configure FRP for enforcement wipes
Policy enforcement rules can wipe a device automatically when it stays non-compliant. A typical example is a device that never meets the password policy. These wipes happen without anyone watching, usually to devices that are not at the depot. That makes them defensive wipes. Before you change these rules, make sure Step 2 is complete for this policy: an enforcement wipe that keeps FRP is only safe if the FRP admin list on the device is current.
- Open the policy enforcement rules in your policy.
- For any rule that ends in a wipe, set it to preserve FRP. Nomid supports this setting on enforcement rules that wipe.
- In Android Management API terms, the rule looks something like this:
{
  "policyEnforcementRules": [
    {
      "settingName": "passwordPolicies",
      "blockAction": { "blockAfterDays": 0 },
      "wipeAction": { "wipeAfterDays": 7, "preserveFrp": true }
    }
  ]
}
Expected result: Automatic wipes leave devices protected, and IT can still unlock them with the FRP admin accounts.
Step 5: Use the returned-device runbook
Most depot lockouts happen because someone reset a returned device locally instead of wiping it from the console. Use this sequence for every device that comes back.
- Log the return. Update the device's allocation fields. The allocation history then shows who had the device and when it came back.
- Power it on and connect it to Wi-Fi. Confirm it appears as recently seen in the console. A console wipe only reaches a device that is online and still enrolled. If it never shows up, check Wi-Fi and the battery first. Reset it locally only if you know it received your FRP admin list, and then unlock it with an FRP admin account as in Step 6.
- Collect anything you need to keep, as your data-retention rules require.
- Send a wipe from the console with the "remove FRP" switch turned on.
- Watch the device restart. It should reach a clean setup wizard with no account verification prompt.
- Decide what happens next:Redeploy: let it re-enrol through zero-touch, Knox Mobile Enrollment or QR code.
- Resale, recycling or lease return: remove it from your zero-touch or Knox Mobile Enrollment portal so it doesn't enrol into your company for its next owner.
- Label the device "FRP clear, verified", with the date and your initials.
Warning: Don't factory reset returned devices from recovery mode or button combinations at the depot. That is an untrusted reset, so FRP will apply. Always wipe from the console while the device is still enrolled.
For general reset methods and what each one clears, see our guide to factory resetting Android devices on the Nomid blog.
Expected result: Every device leaves IT either re-enrolled for a new worker, or clean and removed from your enrolment portals. None of them leave locked.
Step 6: Recover a device that is already locked
Once a device has been reset, it is no longer enrolled. No console command can reach it. Work through these options in order.
- Try the FRP admin accounts. If the device received a policy with frpAdminEmails before it was reset, signing in with one of those accounts should unlock it.
- Try older FRP admin accounts. If you changed the list recently, the device may still hold the previous one. Try any accounts that were listed at the time the device was last seen.
- Find the previous user. If no FRP admin list reached the device and the previous user added a Google account to it, that account may unlock it. Check the allocation history, ask that person to come to IT and sign in, and don't ask them to send you their password.
- Allow for recent password changes. Google's account help advises waiting after a password reset before you use the account on a reset device. Check Google's current guidance, then retry.
- Contact the reseller, carrier or manufacturer. Have proof of purchase ready, along with the serial number and IMEI. Some offer an unlock process once ownership is proven, and each has its own rules.
- If none of these work, record the device as unrecoverable, retire it from the asset list, and use the incident to close the gap in your process.
Warning: Don't use FRP bypass tools, downloads or "unlock services". They often bundle malware, may break your agreements with the manufacturer, and undermine the same protection you rely on when a device is stolen.
Expected result: You have either unlocked the device through a legitimate path, or documented and retired it, and you know which step of the runbook was missed.
Troubleshooting FAQ
We removed FRP, but the device still asked for an account. Why?
In most cases, the device was reset again locally after the console wipe, or the wipe was sent without the switch. Also check whether the device reached the "remove FRP" wipe at all. If it was offline, the command may never have arrived before someone reset it by hand.
The device asks for an account, but our FRP admins don't work.
The device probably never received the policy with those admins, or it holds an older list. Compare when the device was last seen with the date you changed the policy. Also confirm the admin account isn't suspended and that you can reach its second factor.
Does zero-touch or Knox Mobile Enrollment get past FRP?
No. These are enrolment methods, not unlock methods. Plan as though FRP must be satisfied before re-enrolment can happen.
A worker reset the device from Settings. Is it locked?
Usually not, because they had to know the screen lock to start the reset. Behaviour differs across Android versions and manufacturers, though, so confirm it on your own models.
Can I clear FRP remotely on a device that is already locked?
No. After the reset, the device is no longer enrolled, so no console command reaches it. Use the recovery order in Step 6.
Should we leave the FRP admin list empty to avoid lockouts?
That trades a process problem for a security problem. Google documents that a device with no FRP admins listed won't provide factory reset protection, so a stolen device could simply be reset and reused. Keep the admins and fix the runbook instead.
Key takeaways and next steps
- Control the keys. Set two IT-owned FRP admin accounts by policy and test them on real hardware.
- Defensive wipes keep FRP. This covers lost, stolen, unreturned and enforcement wipes.
- Administrative wipes remove FRP, and only when the device is on your bench.
- Never reset locally at the depot. Always wipe from the console while the device is still enrolled.
- Recover legitimately through FRP admins, the previous user or the vendor, and never through bypass tools.
As a next step, run Steps 2 and 5 end to end on a spare device this week, and add the returned-device runbook to your depot's standard procedures.
If you manage your fleet with Nomid MDM, the three controls this guide relies on are already in the console. To rehearse the runbook first, the free plan covers up to 10 devices with no time limit, which is enough for your spare hardware before rollout.
Secure your Android fleet today
See how Nomid MDM secures Android devices with Android Enterprise policies, a security posture view and remote lock and wipe.
Start for FreeRelated Articles
View all posts
How to Factory Reset Mobile Devices: Ensuring Corporate Security
Learn how to safely perform factory reset on mobile devices, protecting corporate data and ensuring compliance with company security policies.

When Attackers Bring Their Own MDM: Defending Android Fleets Against Rogue Management Agents
For more than a decade, enterprise security architectures have rested on an unwritten assumption: mobile device management (MDM) is the supreme arbiter of trust on the endpoint. If a policy originates from the management console, the operating system executes it without question. The Device Polic...